|
#1
 23-07-2011, 06:25 AM
|
|||
|
|||
|
FE Stella rebuild.
After owning this reel for a little over a year I decided it was time for a service.
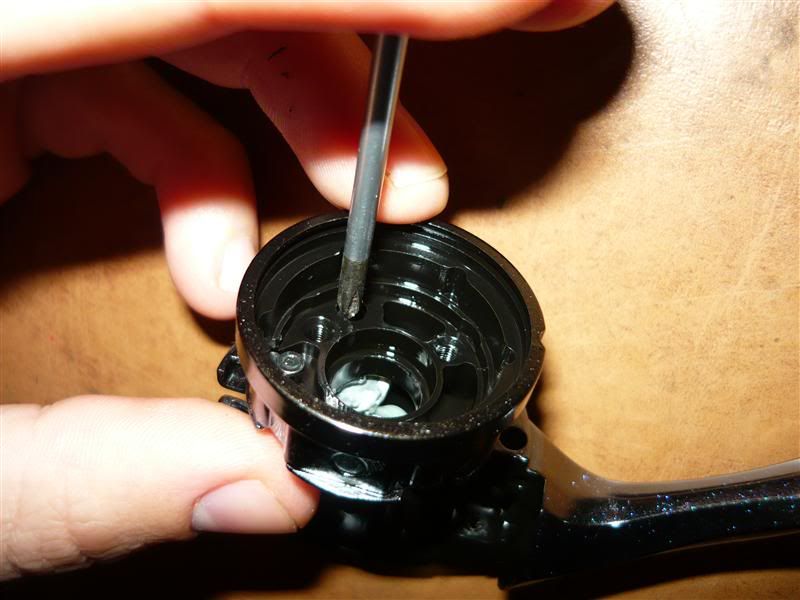
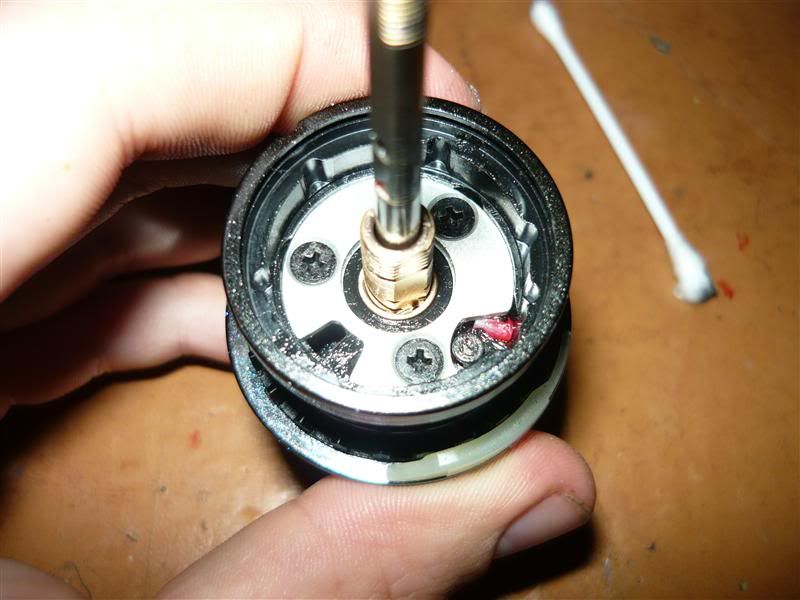
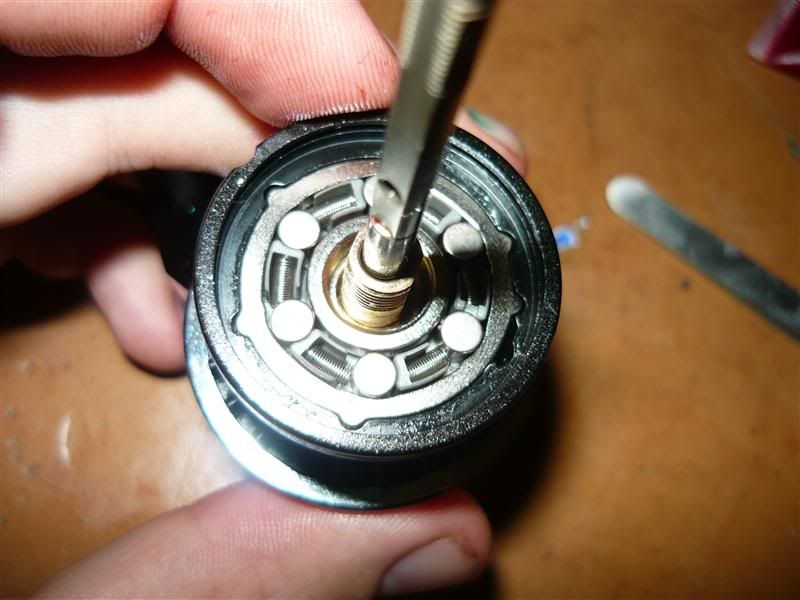
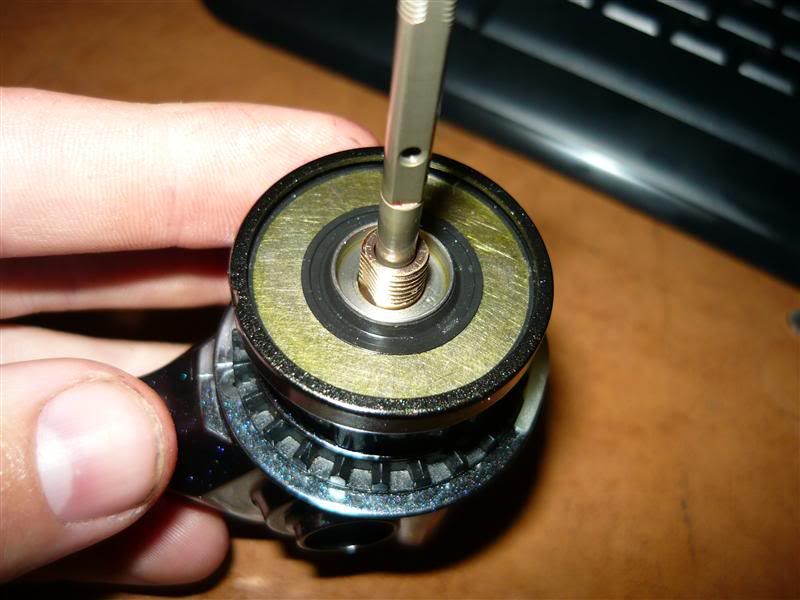
So here goes... Note: the 2000 size Stella shares the same body as the 2500 some parts in the reel besides the rotor are available from Shimano Australia. Shimano didn't tell me this but were otherwise very helpful and the parts I ordered showed up very quickly. First remove the spool to expose the spool bearing assembly. 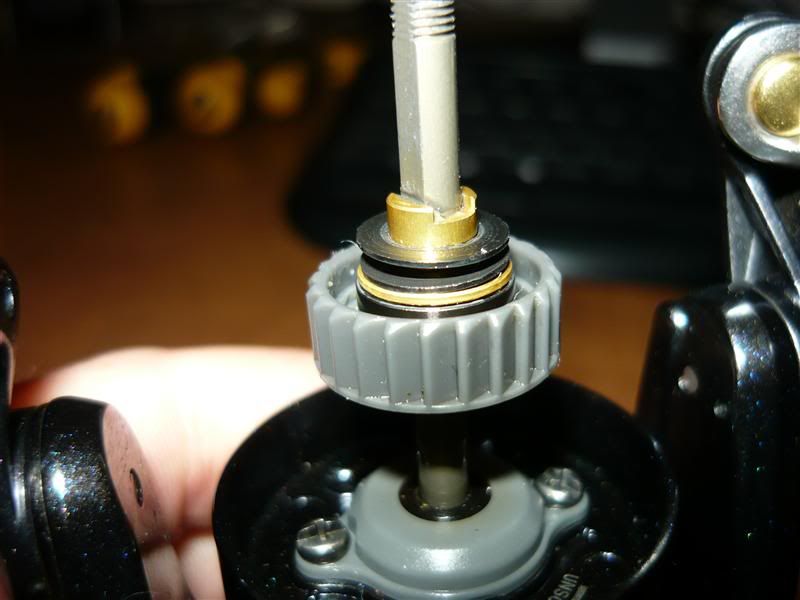 To get the assembly off remove the the spool washers and then wind out the small grub screw. I didn't have the correct size allen key handy so i used a pair of fine tweezers to wind it out. 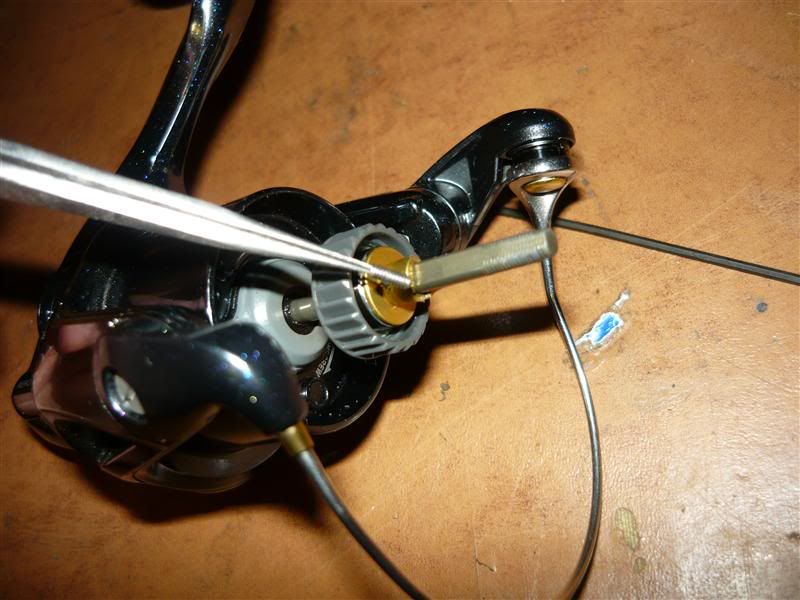 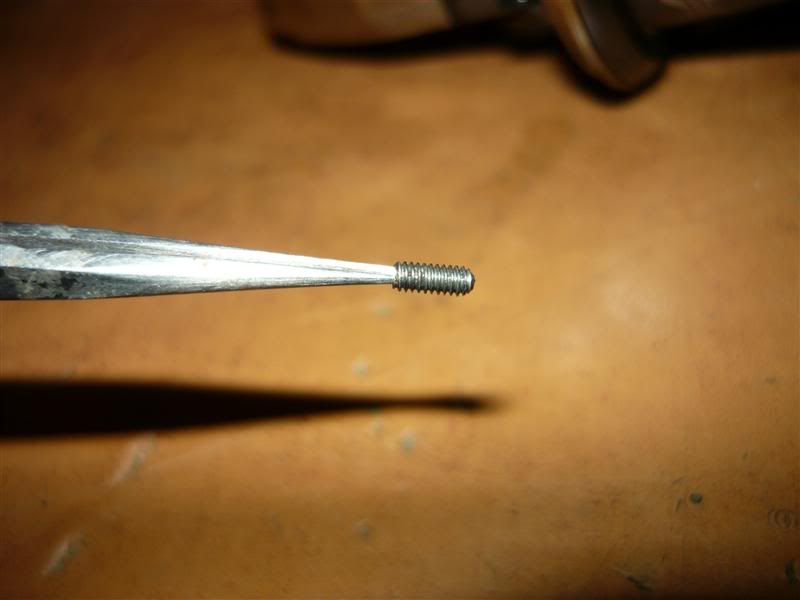 Remove the rotor nut lock plate. 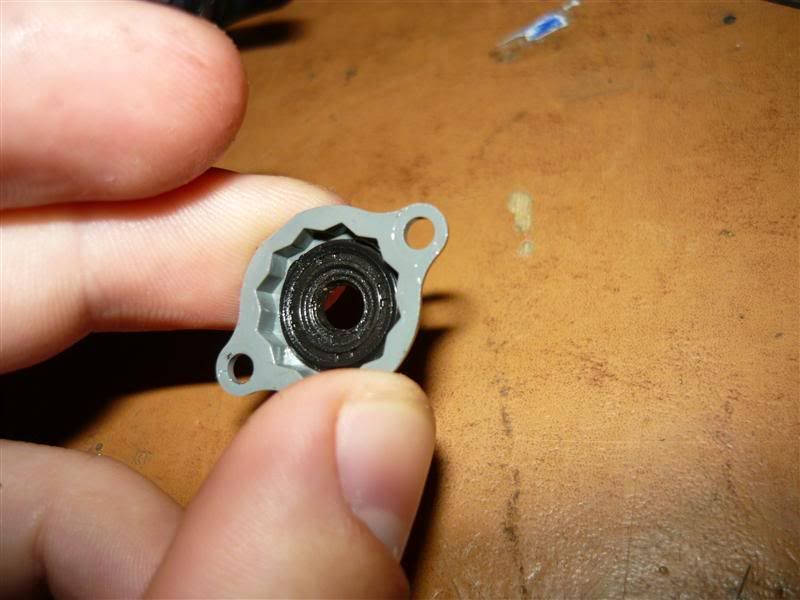 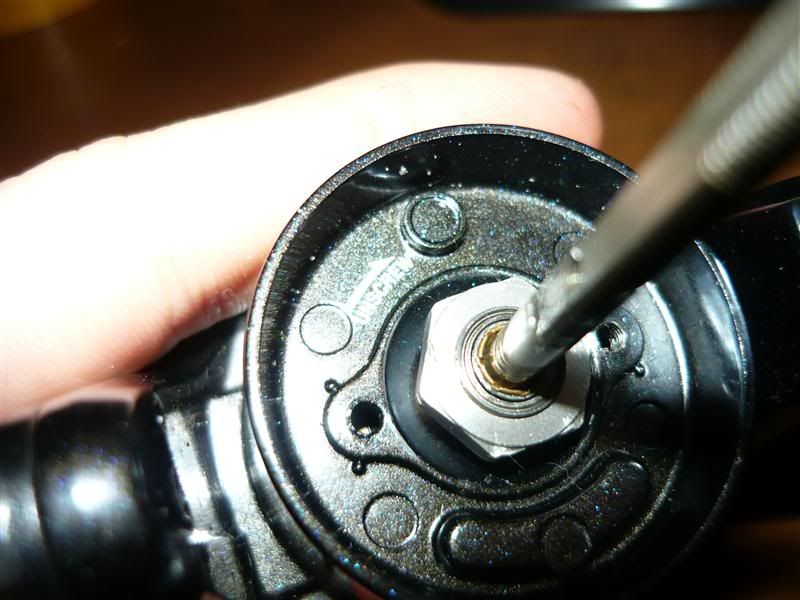 Undo the rotor nut remembering that it is a REVERSE THREAD to undo it you must turn it in a clockwise direction. This is best done with a socket, you can do it with a small shifter provided you are careful. 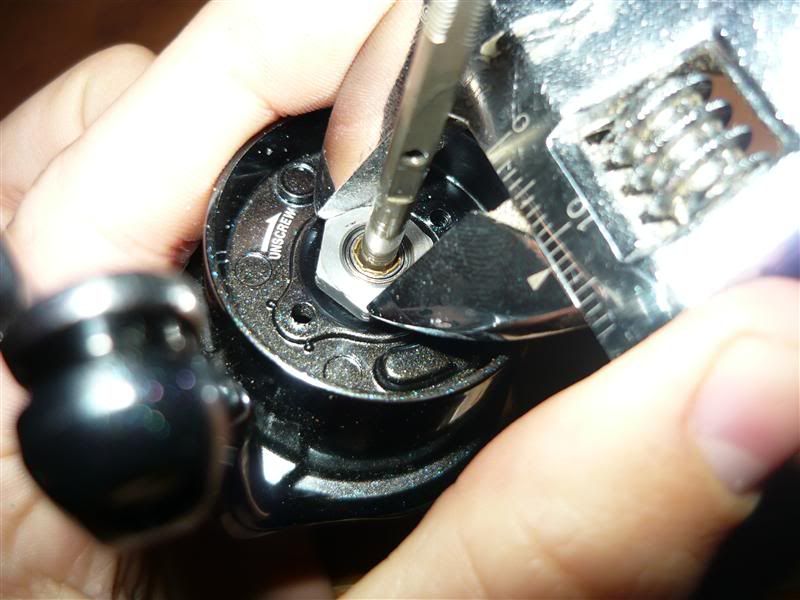 You can now remove the rotor assembly. 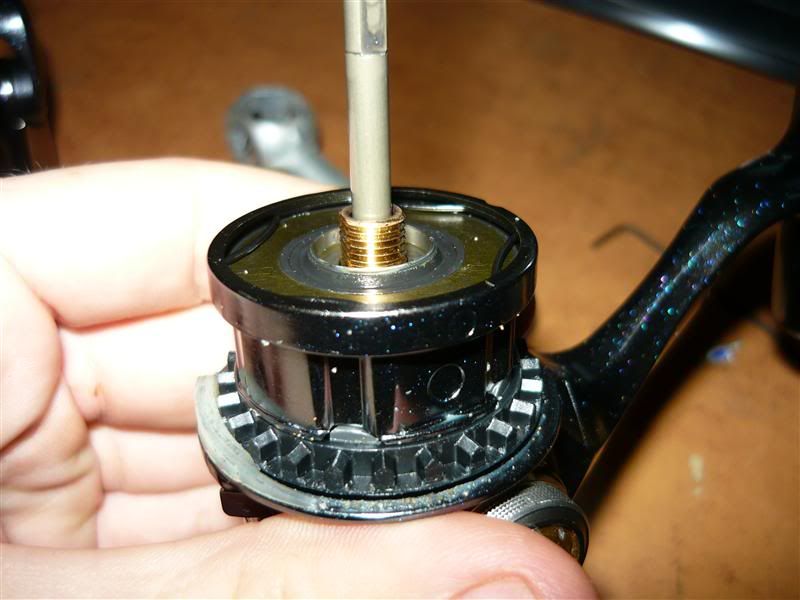 Next remove the roller clutch waterproof retainer and spool support.  Be careful with the seal and spacer. 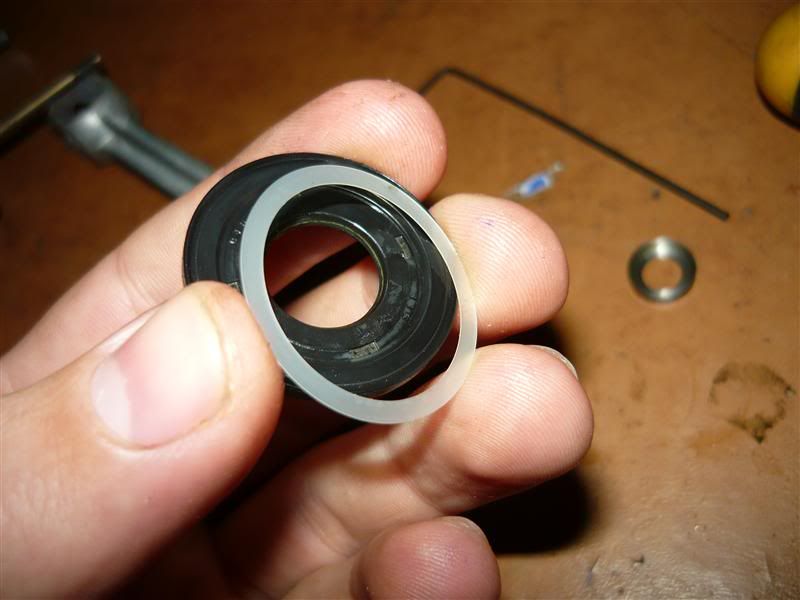 Very carefully remove the roller clutch assembly, there are 6 tiny springs and a washer that you really don't want to lose .  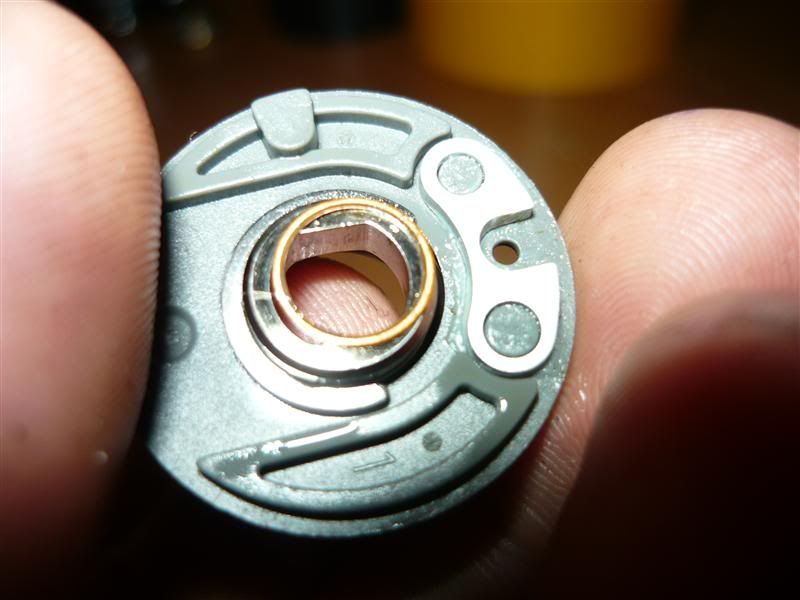 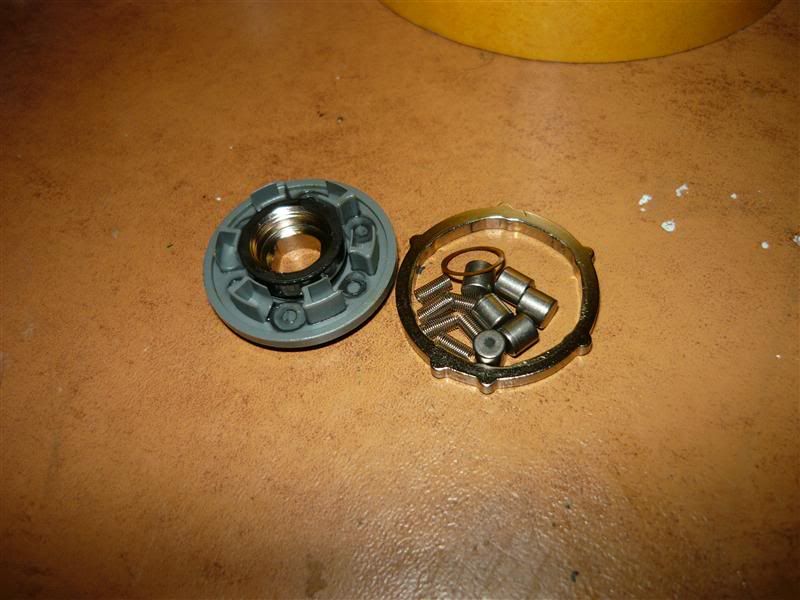 Undo the bearing retainer screws and take off the retainer. 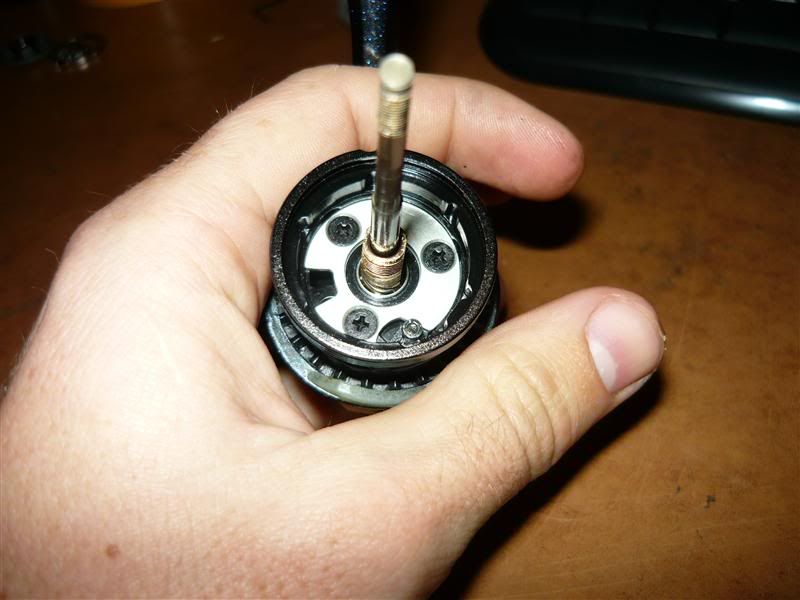 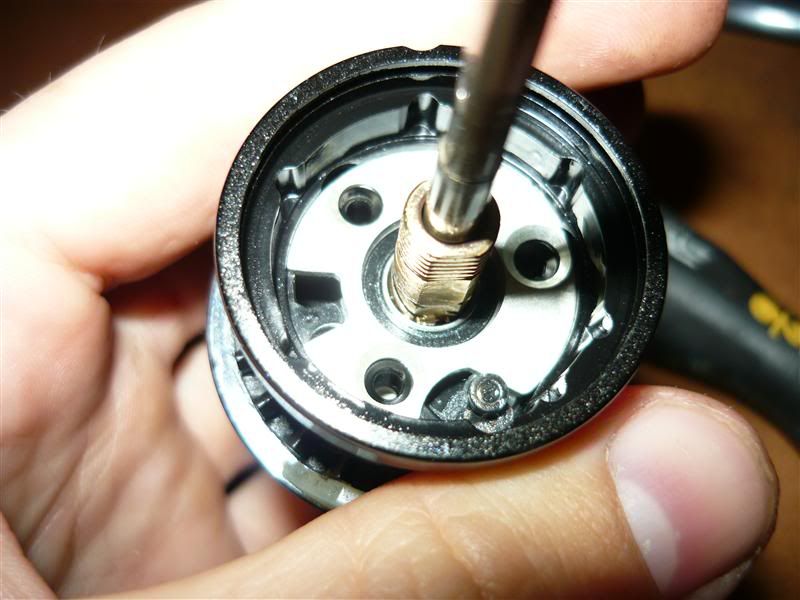 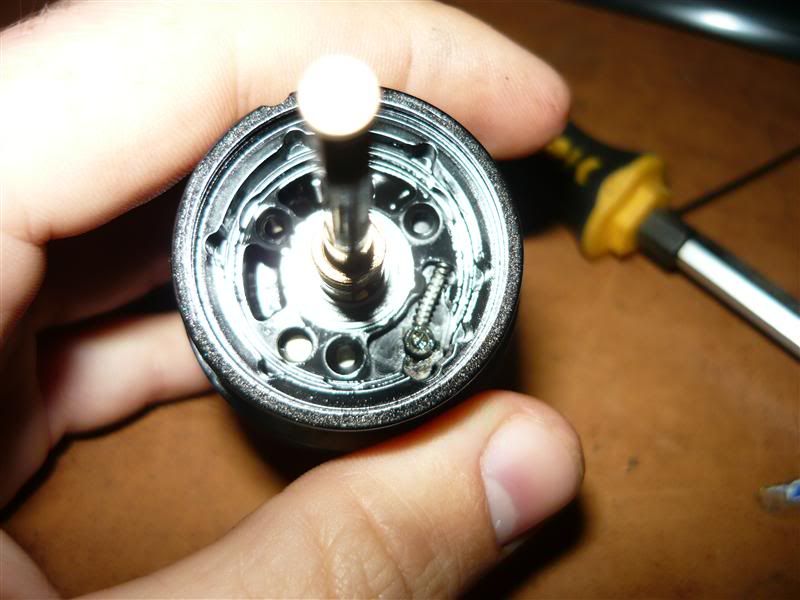 Remove the Anti reverse spring and guide. Be careful with this it will shoot out and believe me you wont find it. 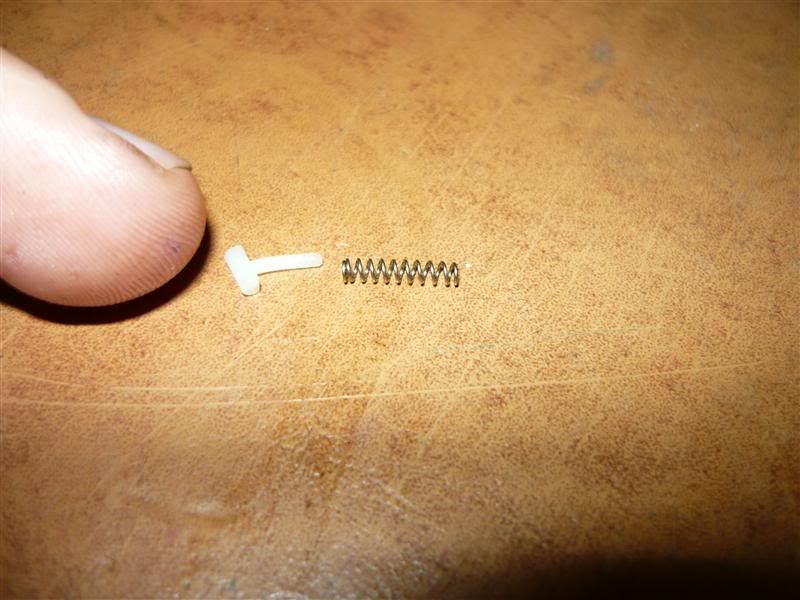 Slide out the pinion gear and bearing. 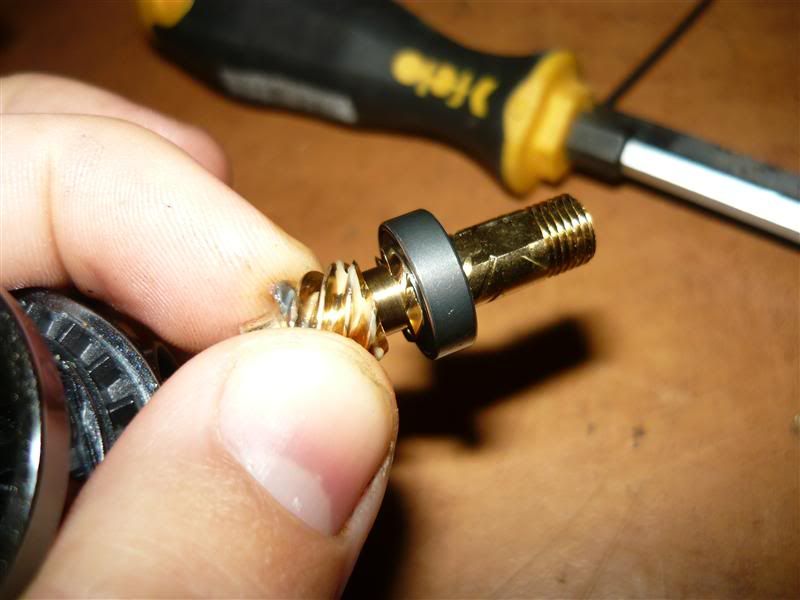 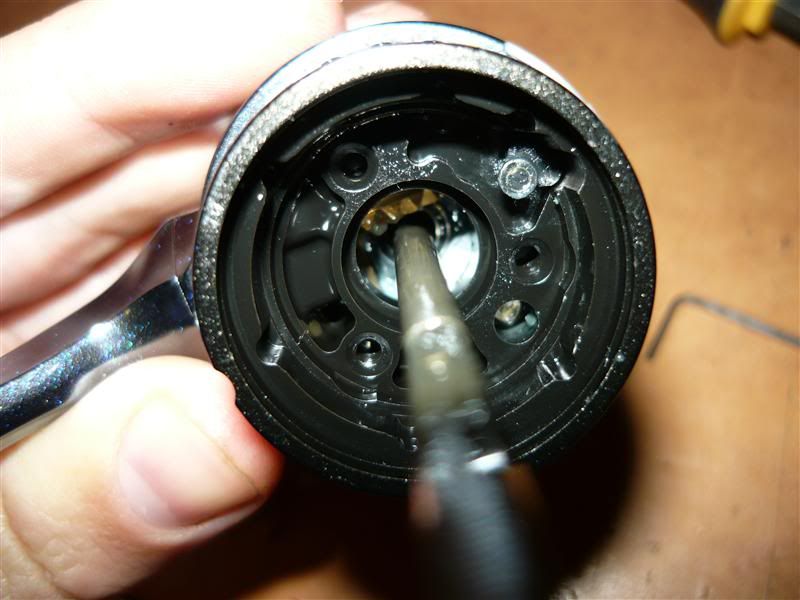 Take off the friction ring and remove the friction ring spacer to access the side plate screws. 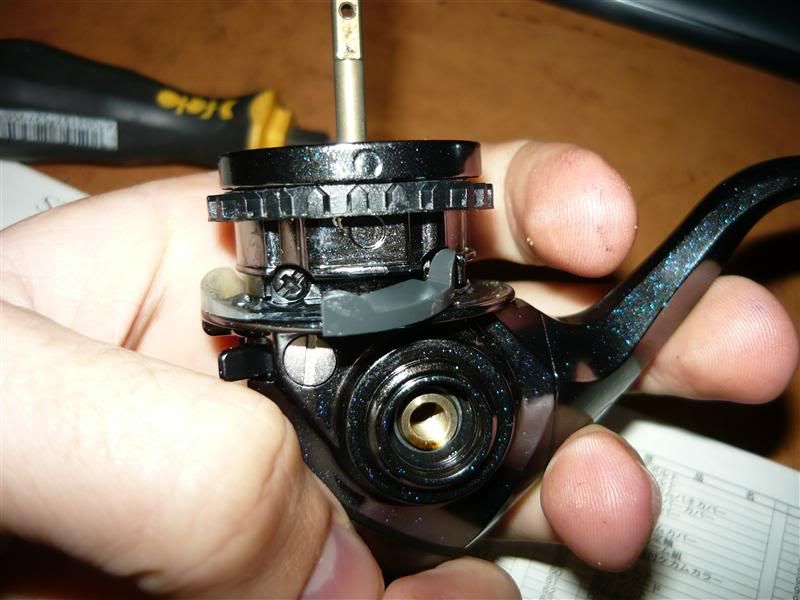 Remove the body flange seal to access the rear protector screw. 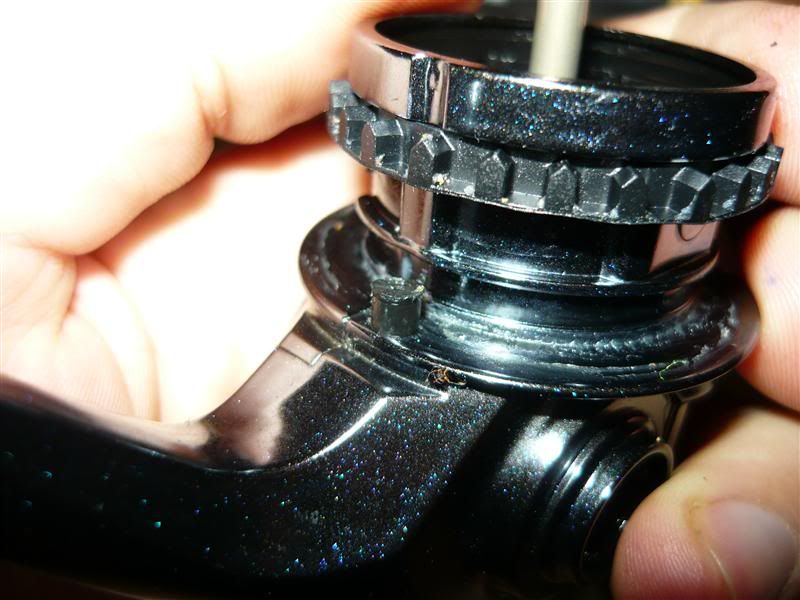 That's enough for tonight Ill continue tomorrow. Last edited by Meh?; 31-08-2011 at 11:07 PM. 
|
|
#2
23-07-2011, 07:43 AM
|
||||
|
||||
|
Awesome! This will be useful for when my one needs a service. Don't think Shimano will do JDM stellas. Cheers mate.
|
|
#4
23-07-2011, 08:57 PM
|
|||
|
|||
 Remove the rear protector and shield. 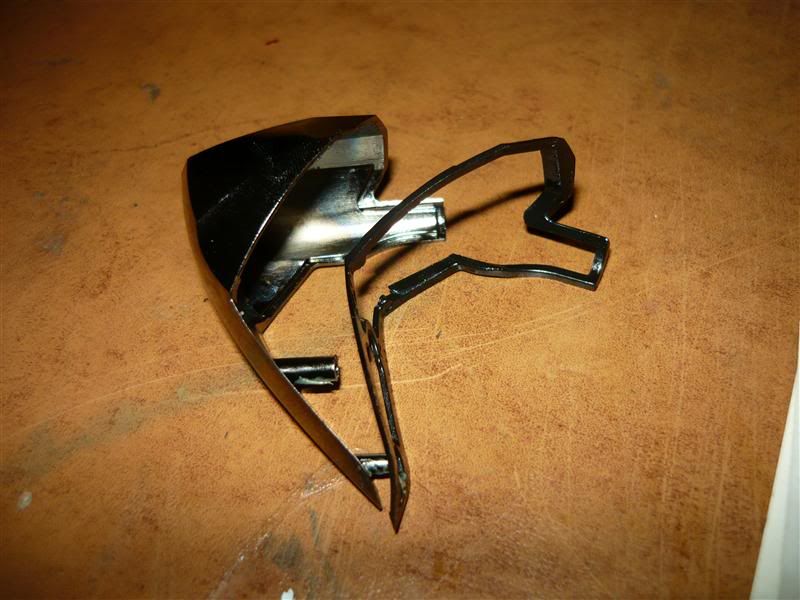 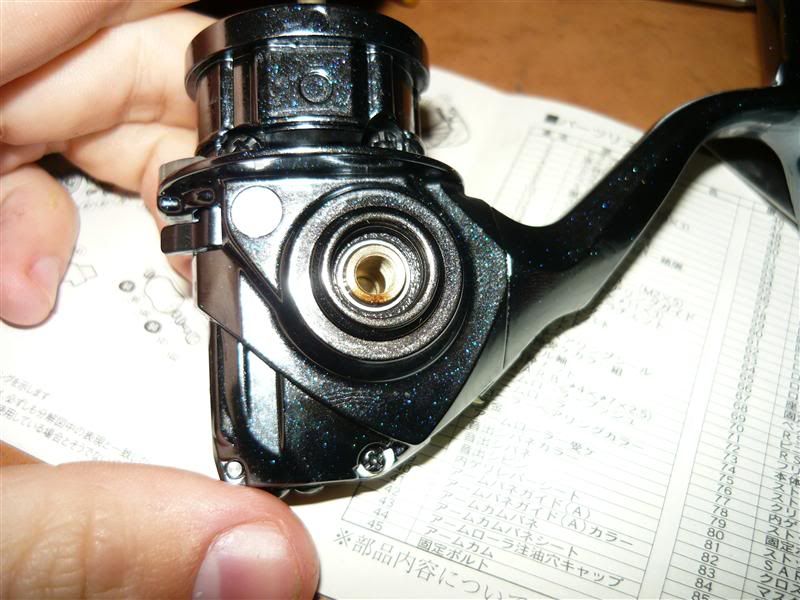 Undo the side plate screws and take off the side plate. 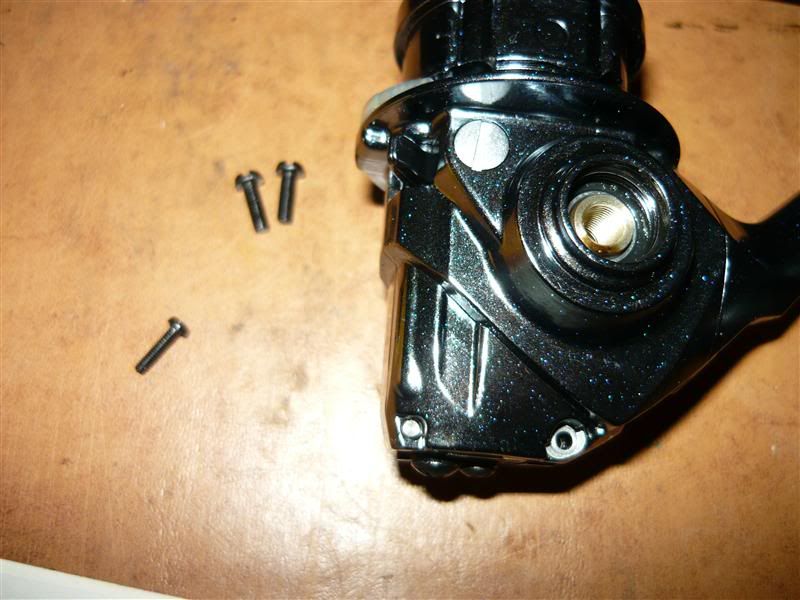 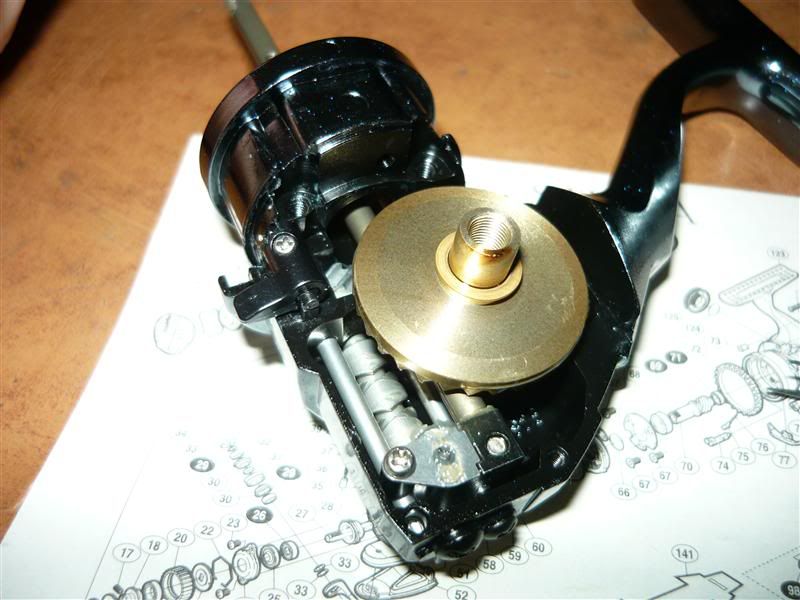 Note the side plate seal. 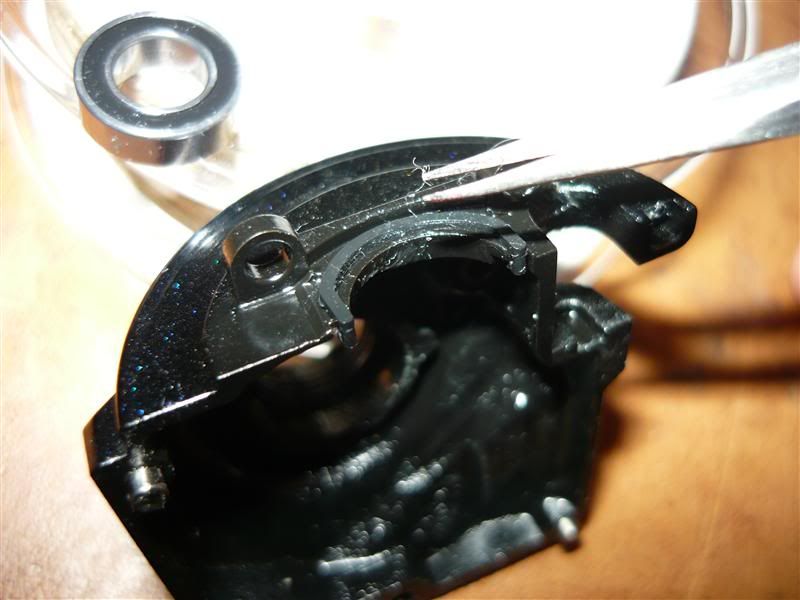 Take out the drive gear. Note the location of the washer.  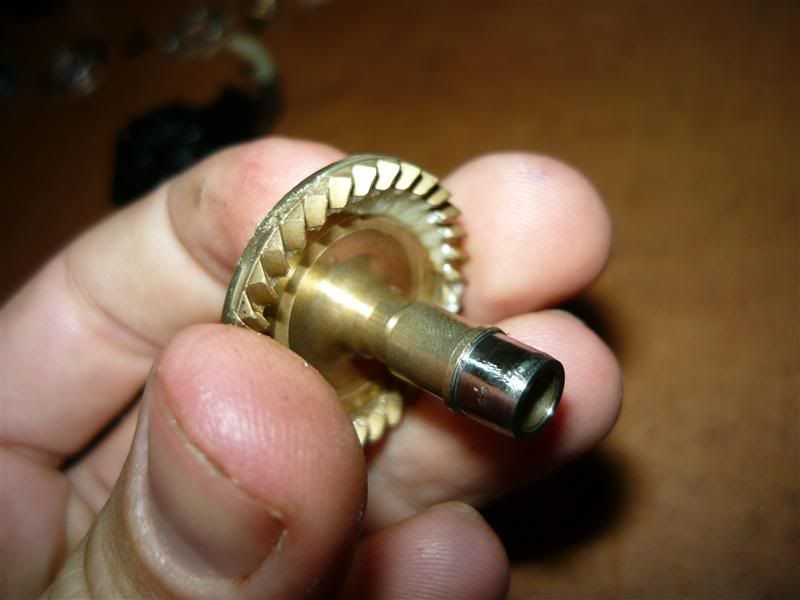 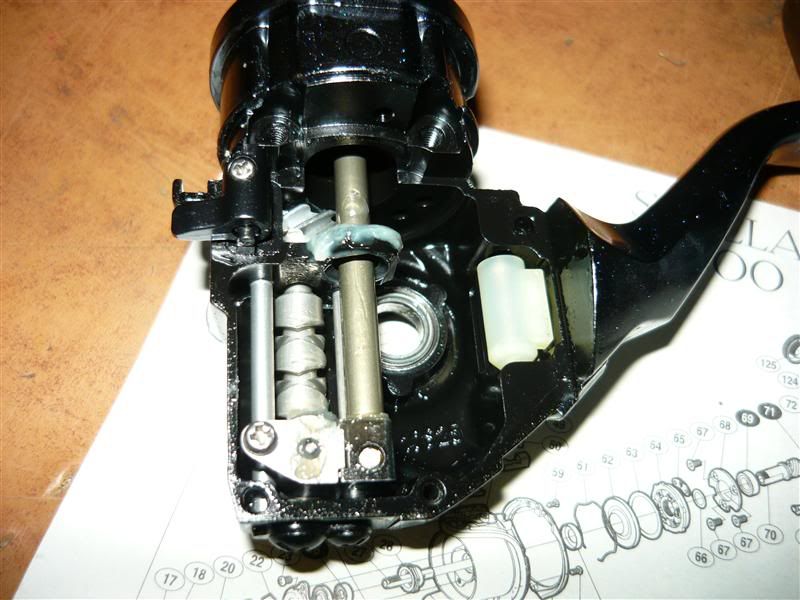 Take out the rear protector collar and screw. 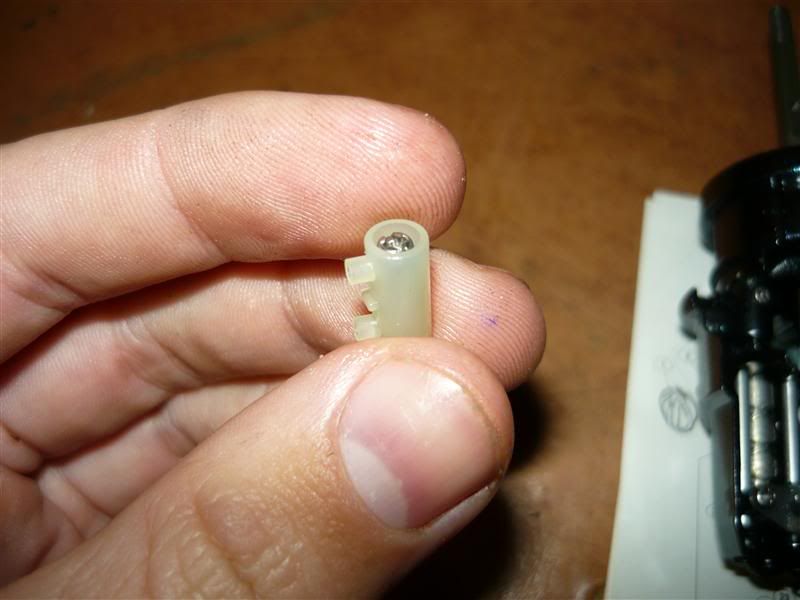 Undo the oscillating slider, slide off the lower pinion gear bearing. 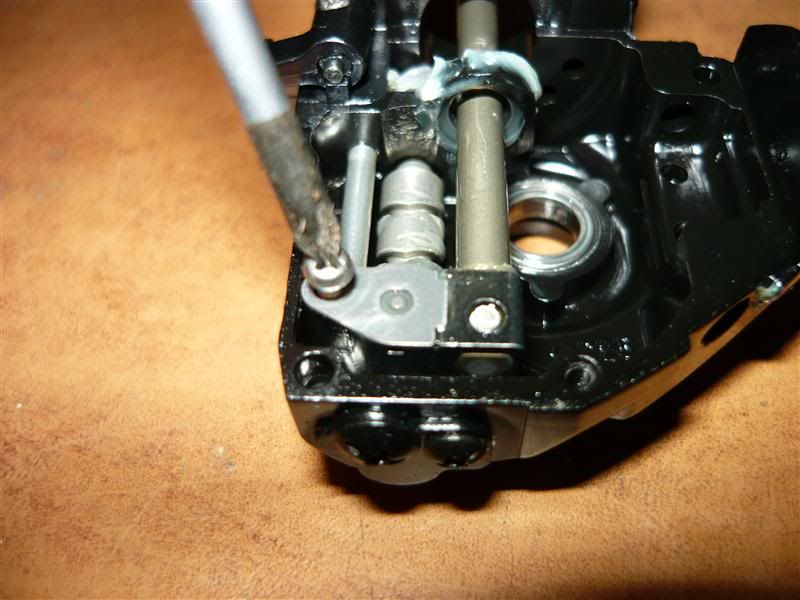 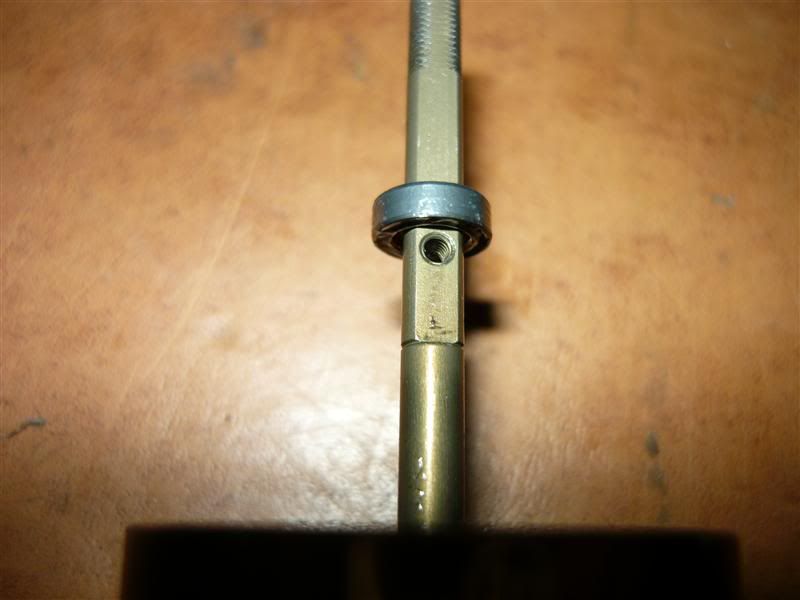 Take off the oscillating pawl cover and take out the pawl assembly. (I didn't get a photo of the full assembly. Check the schematic) Take off the worm screw retainer (be careful there is a tiny washer under it.) 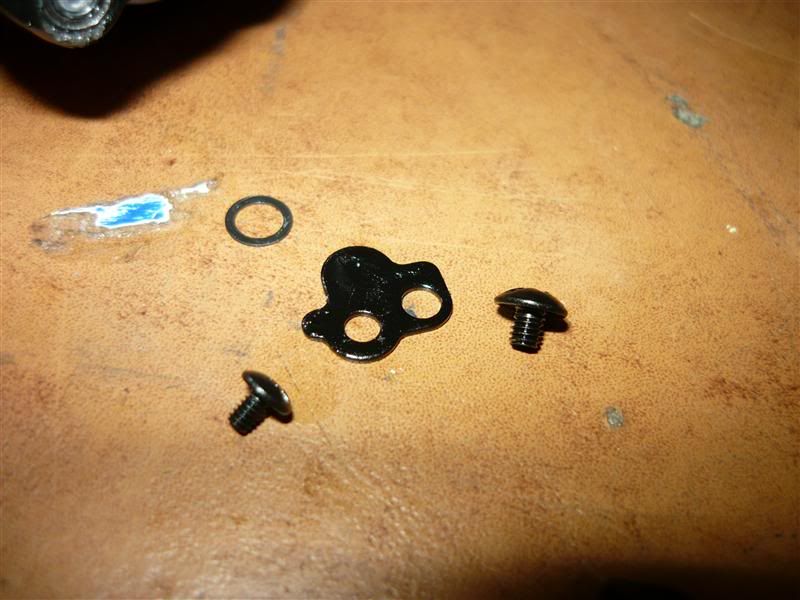 Slide out the two oscillating guides. 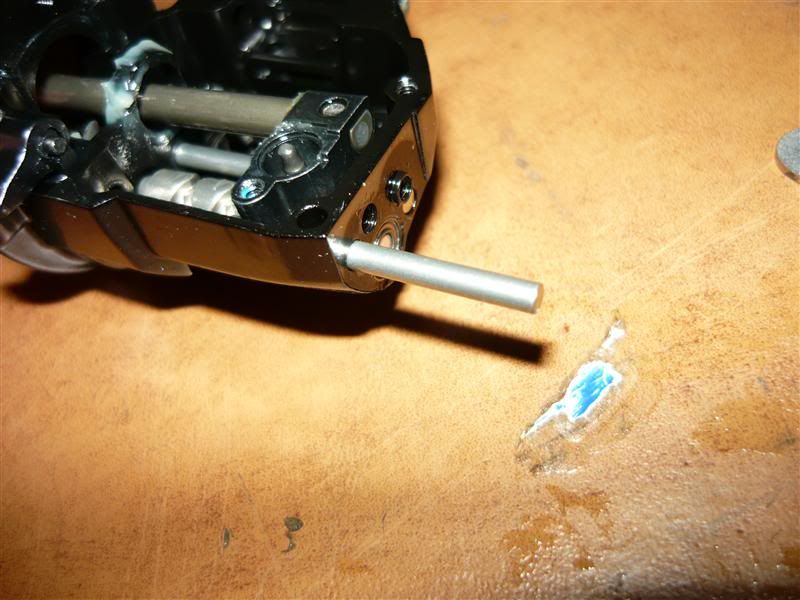 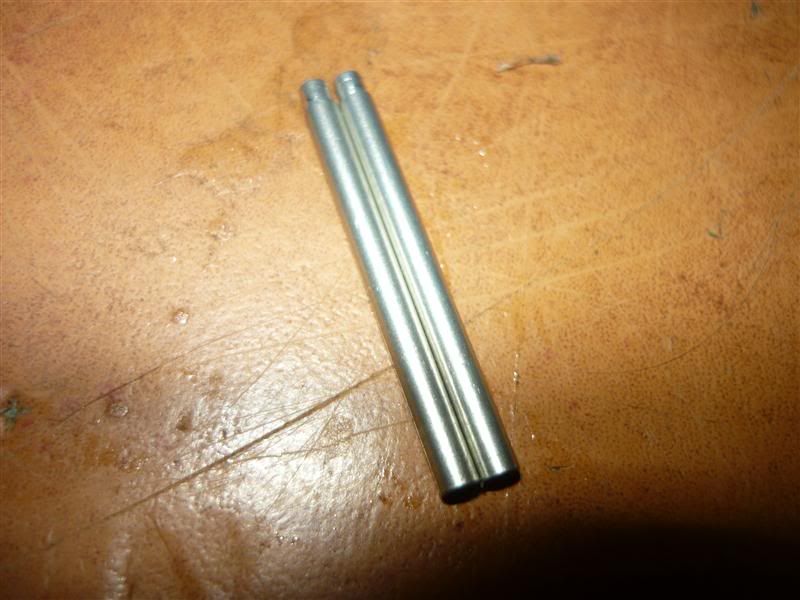 About a year ago i dropped the base of the reel in some wet sand and some corrosion has started. (I will show the repair at the end of the post.) 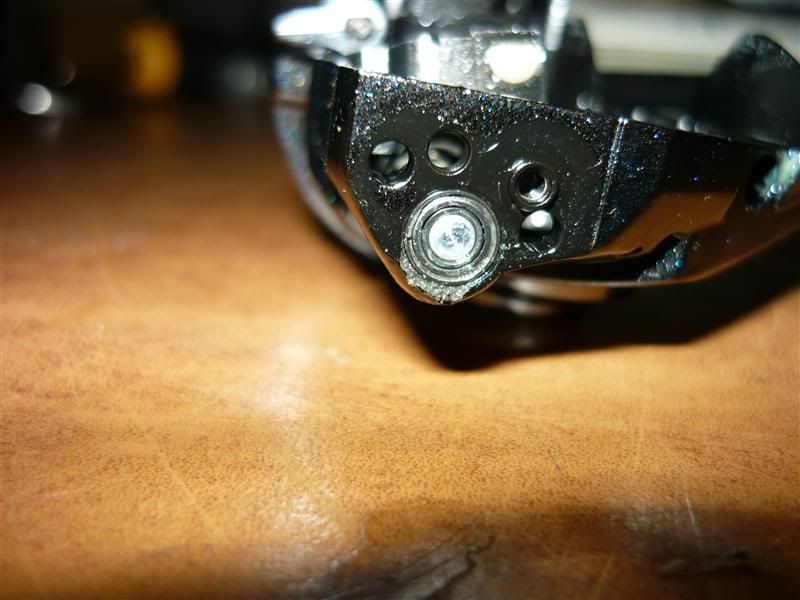 Slide out the main shaft. All parts are not shown. 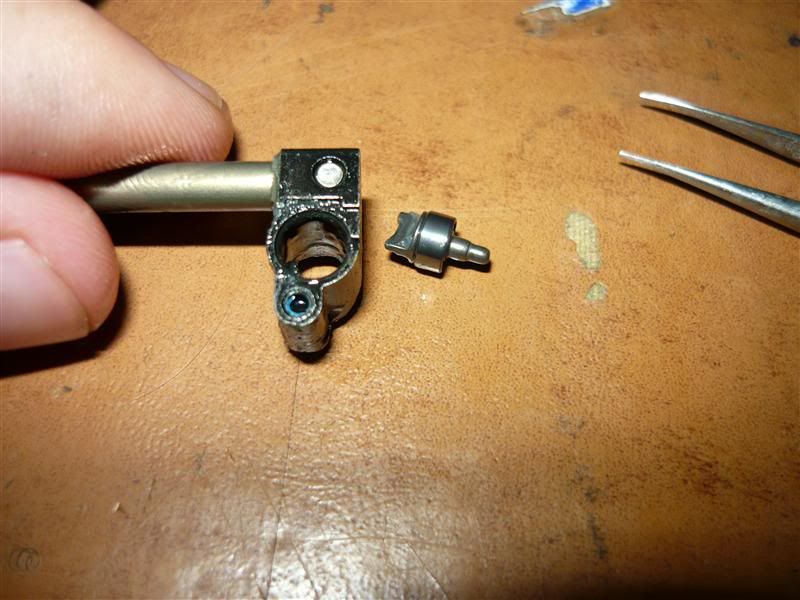 Should look like this. 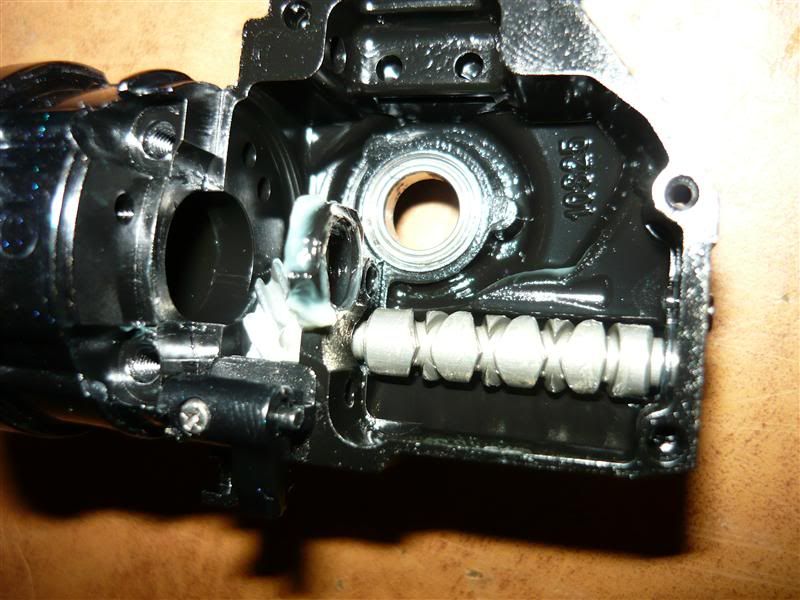
Last edited by Meh?; 24-07-2011 at 12:11 AM.
|
|
#5
24-07-2011, 01:10 AM
|
|||
|
|||
|
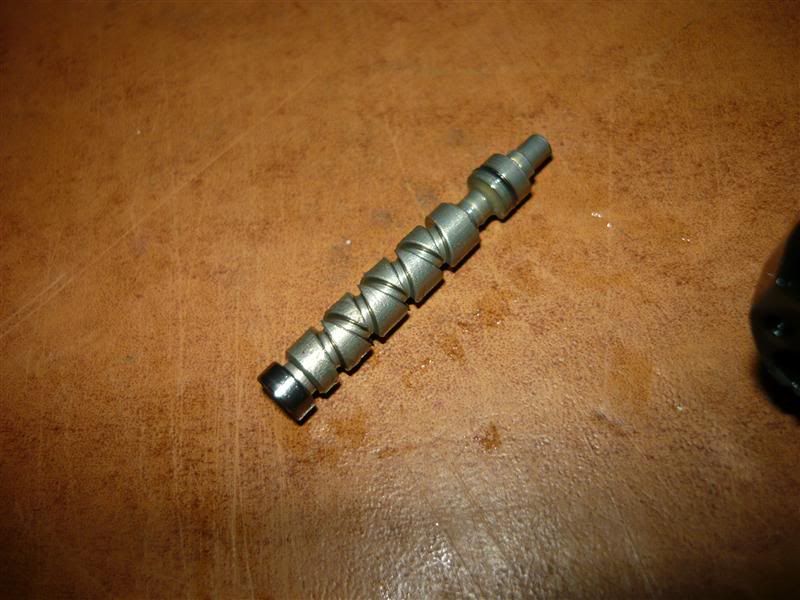
Push out the worm shaft then take out the idle gear, not a complete photo but its fairly obvious once you start.
  Ok, now comes the time to put it all back together. The assembly will mostly be photos as it is essentially the reverse of what has just been explained. Start by cleaning all parts (bearings, gears etc.) thoroughly with Carburetor cleaner if you don't have this you could use another suitable solvent. An ultrasonic cleaner would be even better. Using some heavy non water soluble grease to coat the inside of the reel. I used Cals drag grease 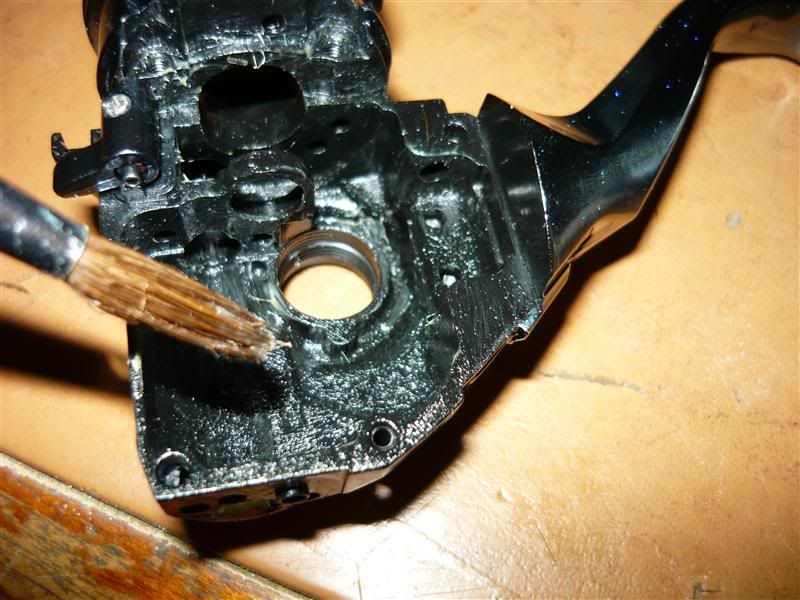 Oil all bearings before re-assembly. I used Shimano oil with a few drops of hot sauce oil. I didn't use hot sauce straight because although it is suited for spool bearings on bait casters IMO it is too thin for this application. 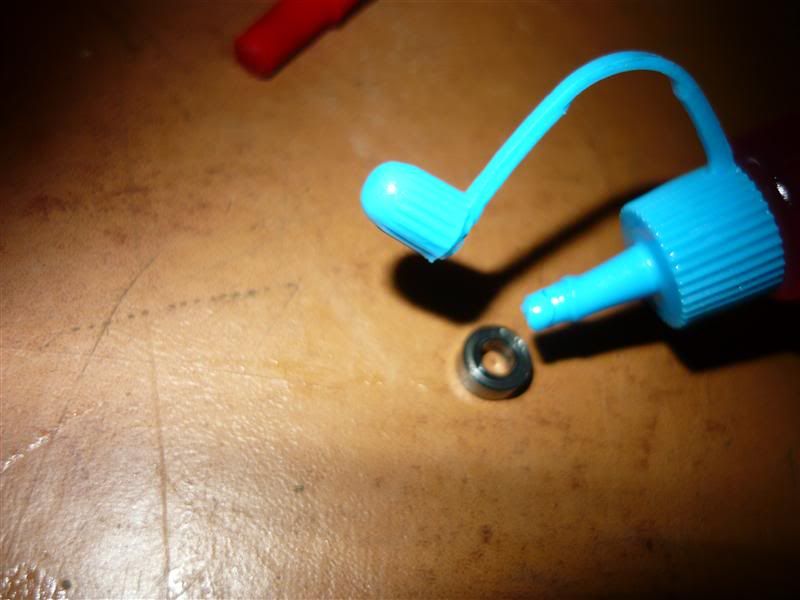 I used hot sauce grease on all gears.  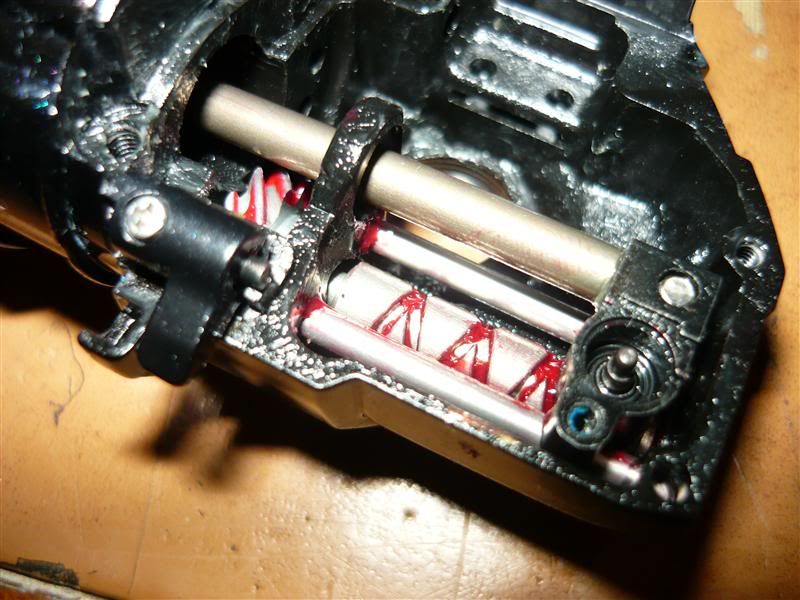 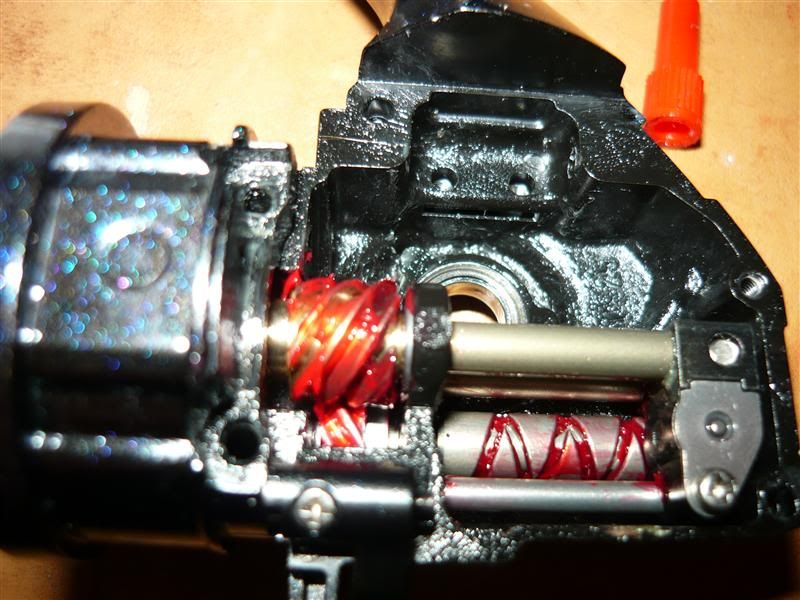 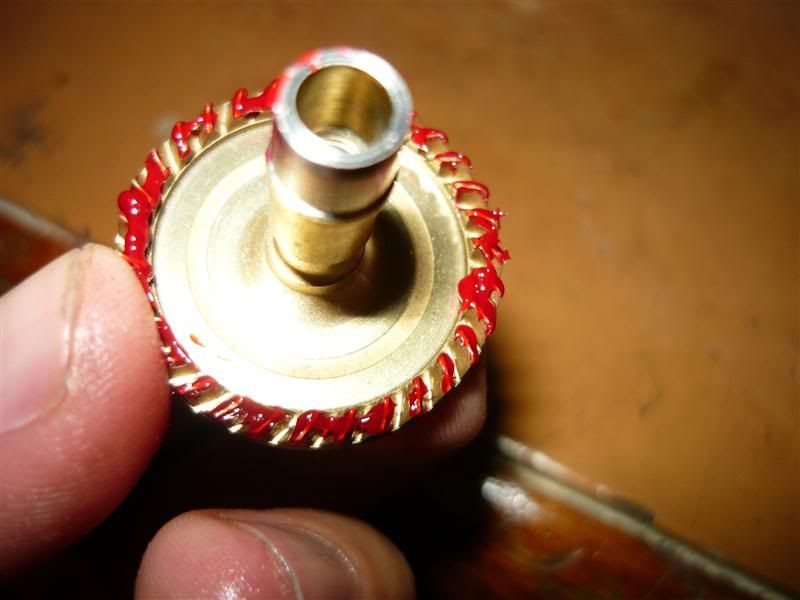 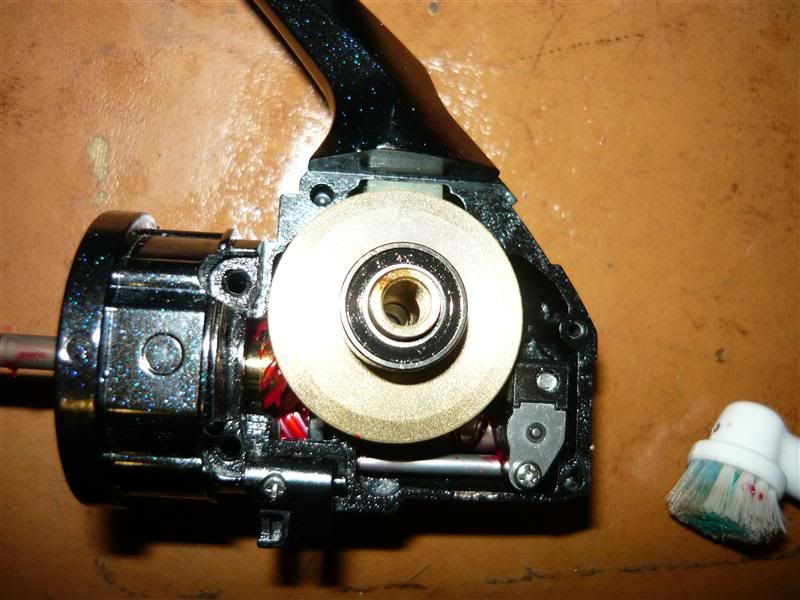 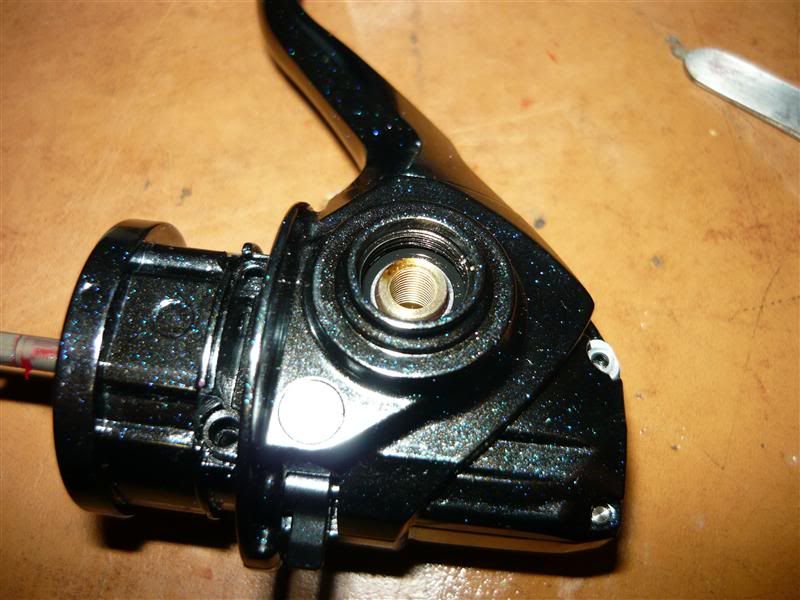 I grease the threads on all external screws. 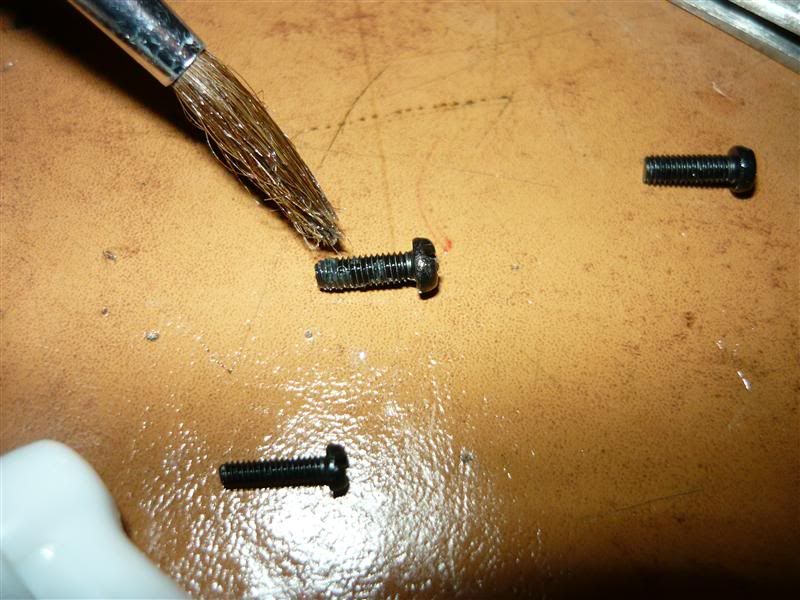 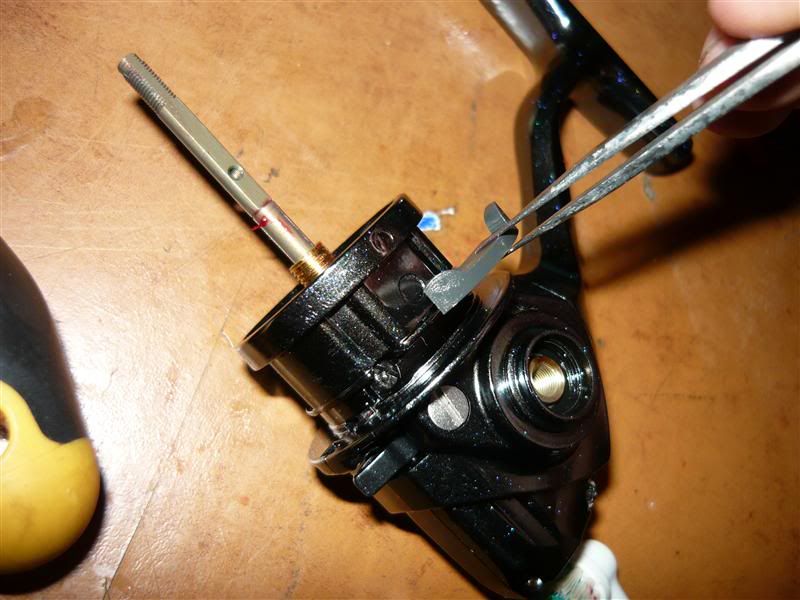 I also greased under the rear protector to help prevent corrosion occurring again. 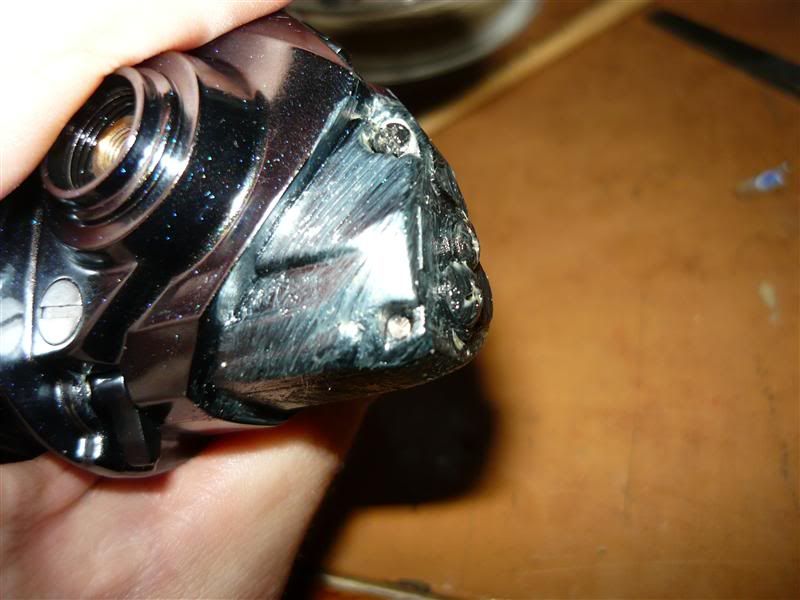 The old rear protector was a little scratched so I ordered a new one (same as 2500 Size) 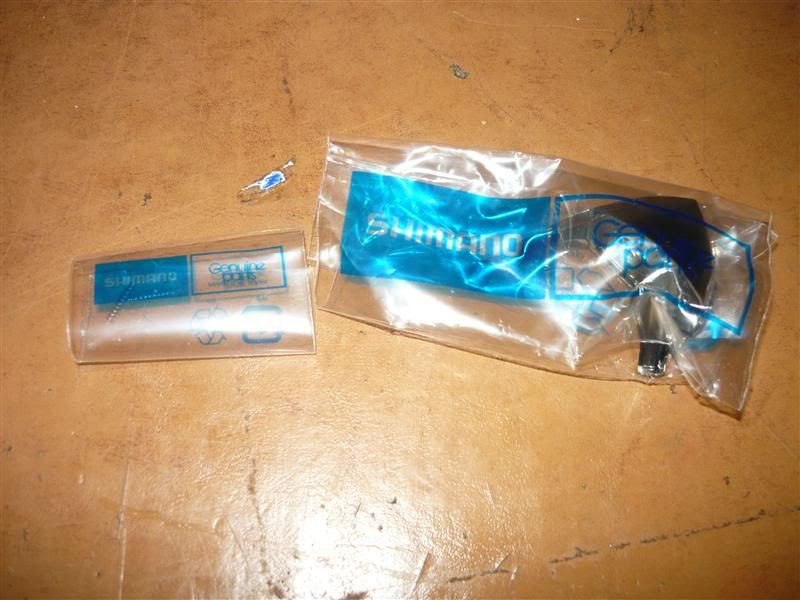 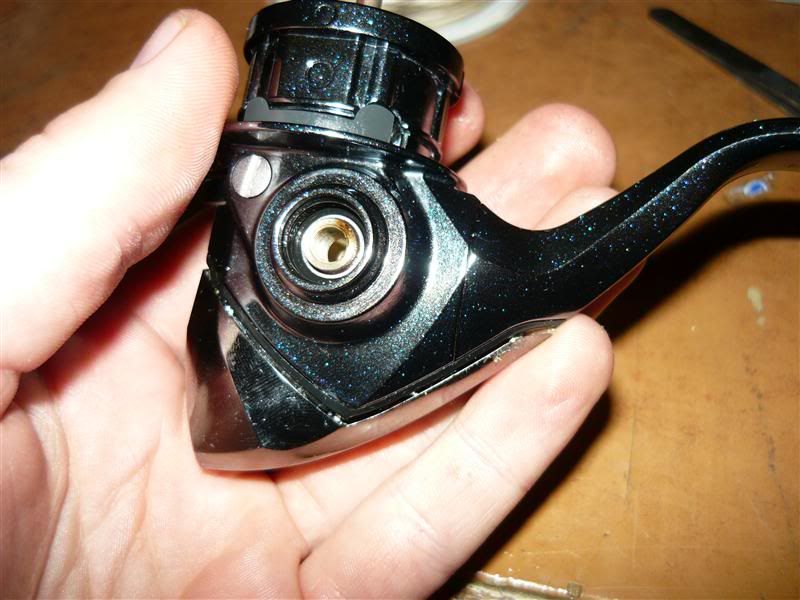 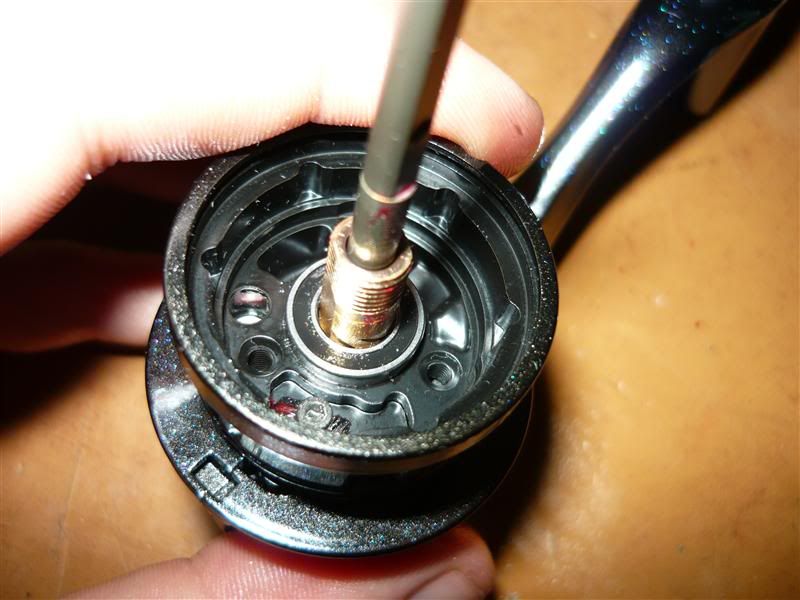 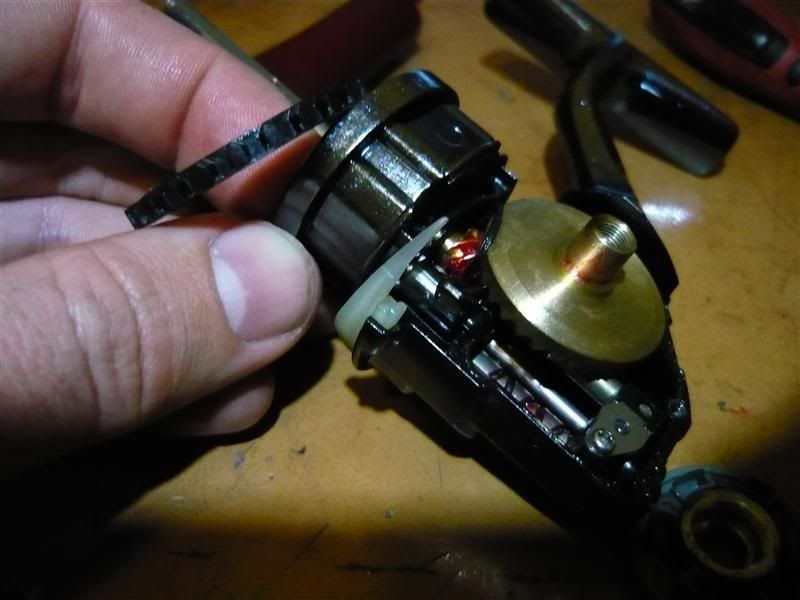 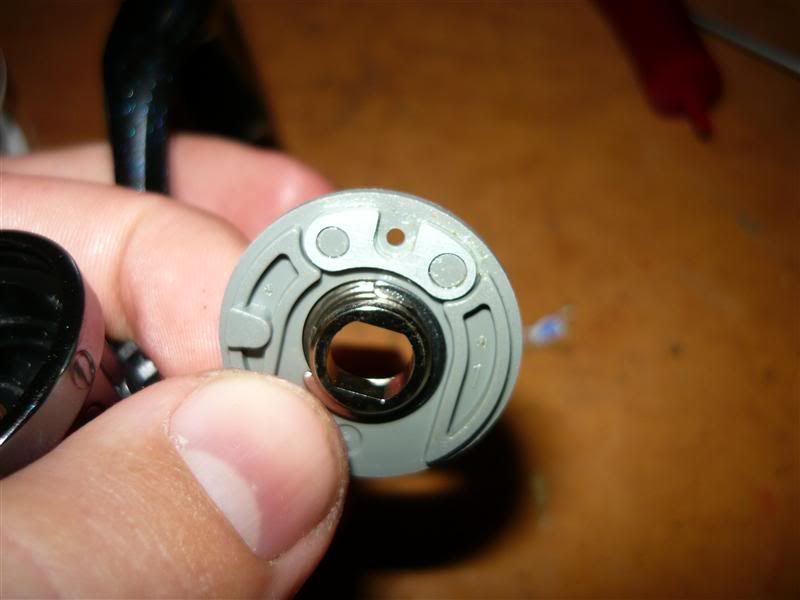 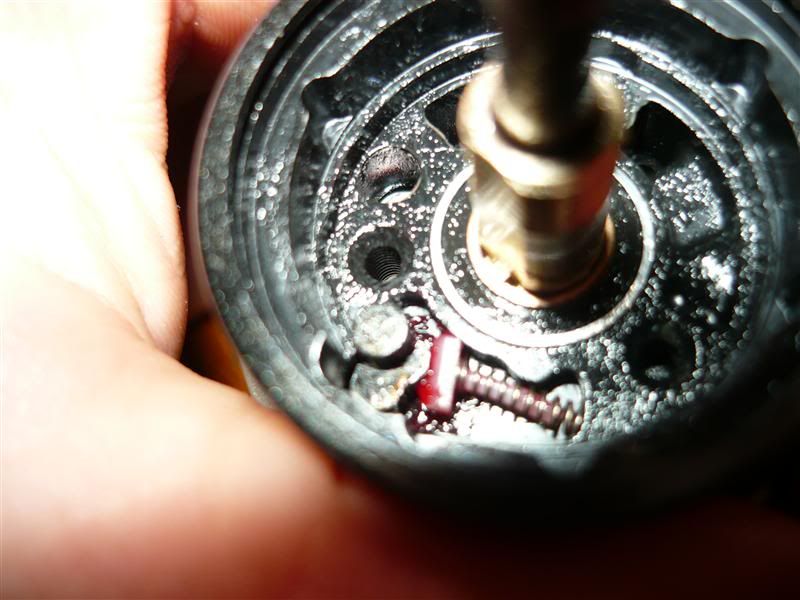
|
|
#6
24-07-2011, 01:15 AM
|
|||
|
|||
   The body is complete, you may want to check the rotor assembly I didn't feel the need, I did clean and re oil the line roller bearings and carriers. This photo is not the correct order, check the Schematic. 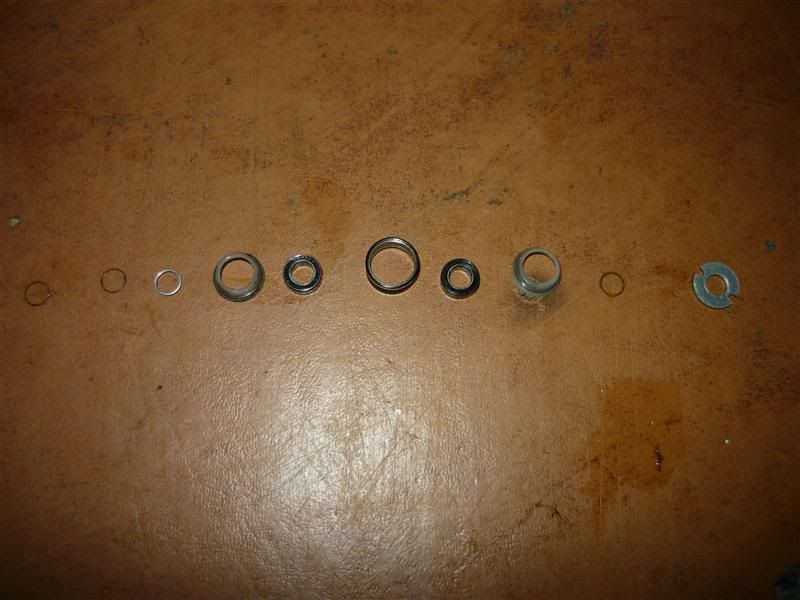 Finished 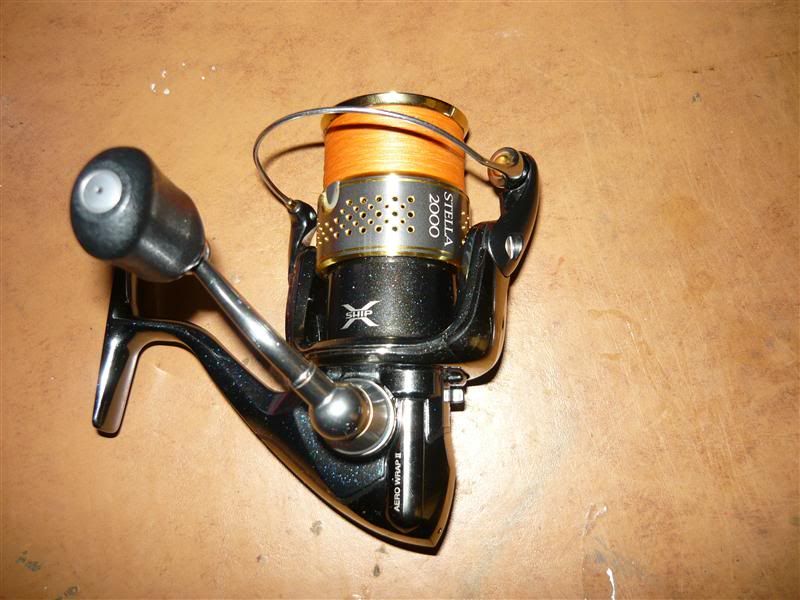
Last edited by Meh?; 24-07-2011 at 04:26 AM.
|
|
#8
24-07-2011, 03:12 AM
|
|||
|
|||
|
Corrosion Repair
About a year ago I dropped the base of the reel into some wet sand. The sand and salt found its way through the two drainage holes in the rear protector. 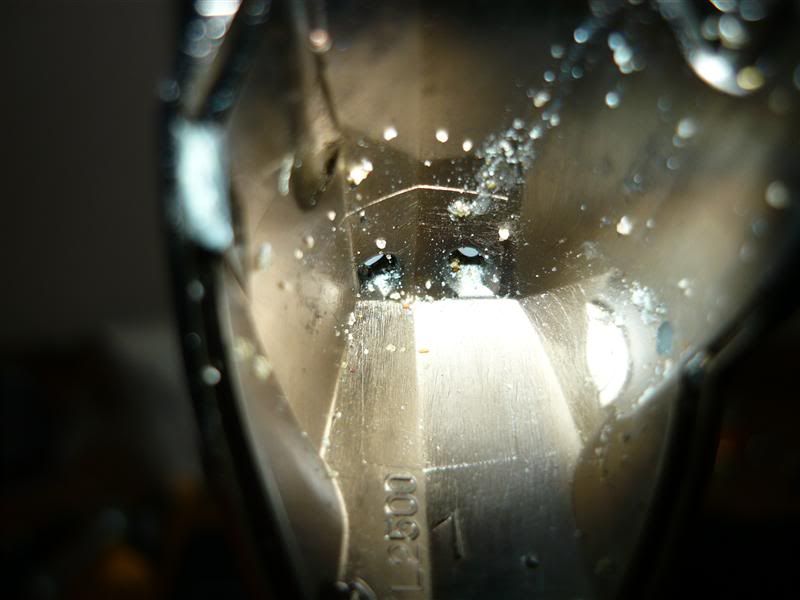 I had intended to clean this out but it slipped my mind meaning that the salt and sand rattled around i the small cavity and eventually the inevitable happened. The internals of the reel were still in prefect condition no sand or other material has got in, if the corrosion was allowed to continue it would have become a problem. Firstly I extremely lightly ground away the corroded material until the intact magnesium was exposed. I used a diamond bit in a dremel set on the lowest speed. 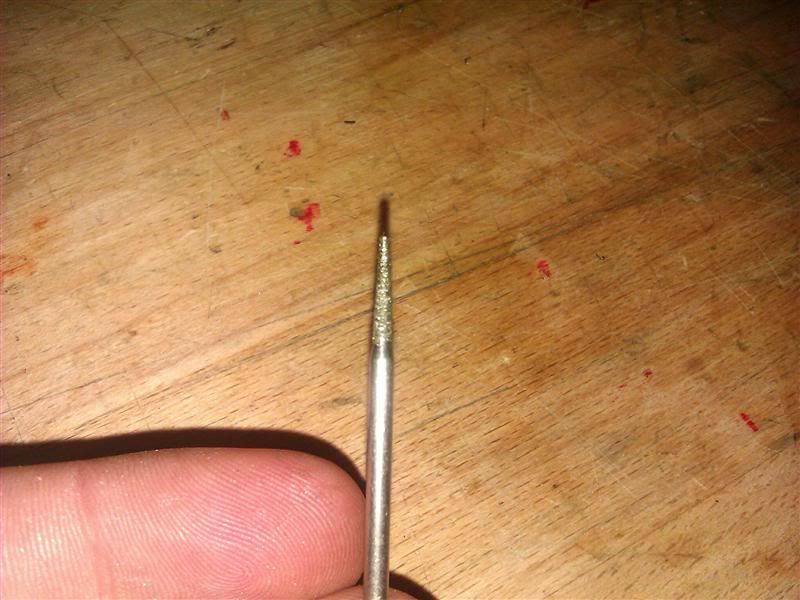 After grinding the affected area and the edges of paint surrounding it was was lightly sanded then cleaned with wax and grease remover. 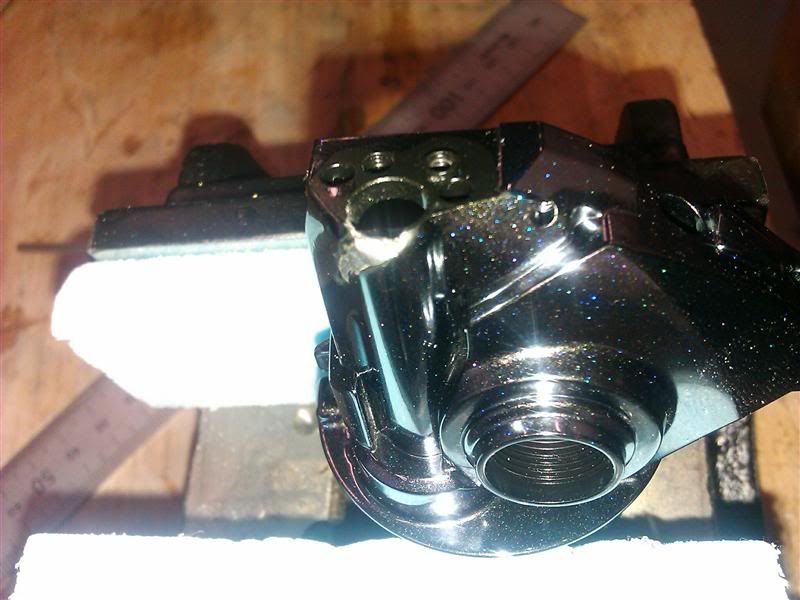 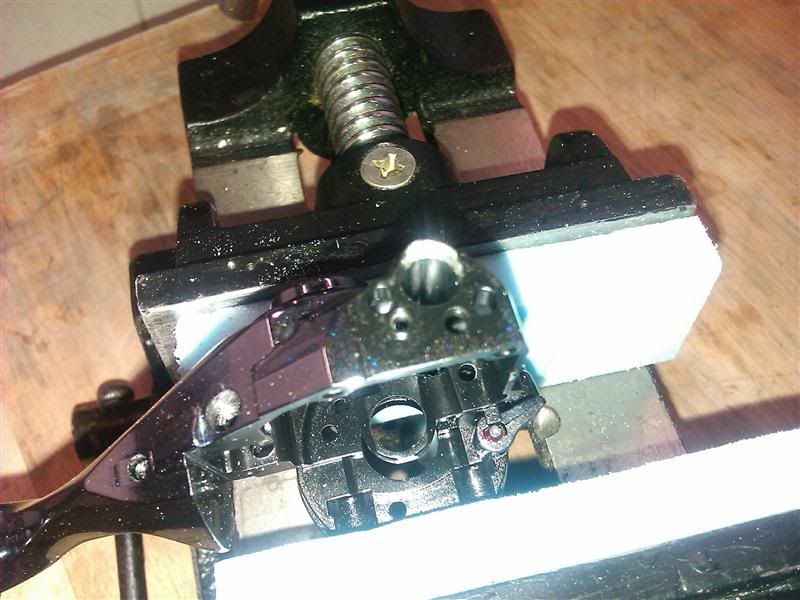 I then coated the sanded area with a high strength 2 part epoxy. Araldite wont cut it. 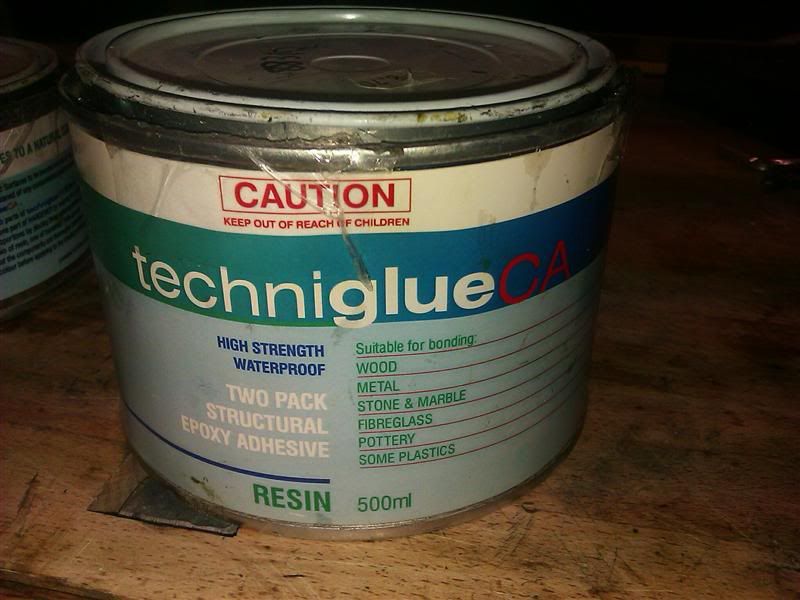 Because the inner bearing surface was affected I could not just coat it with epoxy and let it cure as the bearing would no longer fit, and even if i sanded it back it would be impossible to get perfect and the alignment would be thrown out. The solution I came up with was to use a drill bit as a reverse mold/alignment tool of sorts. Drill bits are made to precise tolerances and once the epoxy has cured around it a perfect surface will be left behind. The bearings on either end of the worm shaft are 6mm so I used a 6mm drill bit. To prevent the epoxy permanently attaching the drill bit to the body it needed to be coated with something to stop it sticking. I used some mold release and then dipped it in PVA. This is how boat builders prevent fiberglass sticking to their molds. I was a little worried this method would increase the diameter of the drill bit enough to result in a poor fit, this was not the case it was a perfect fit. You must let the PVA dry first. 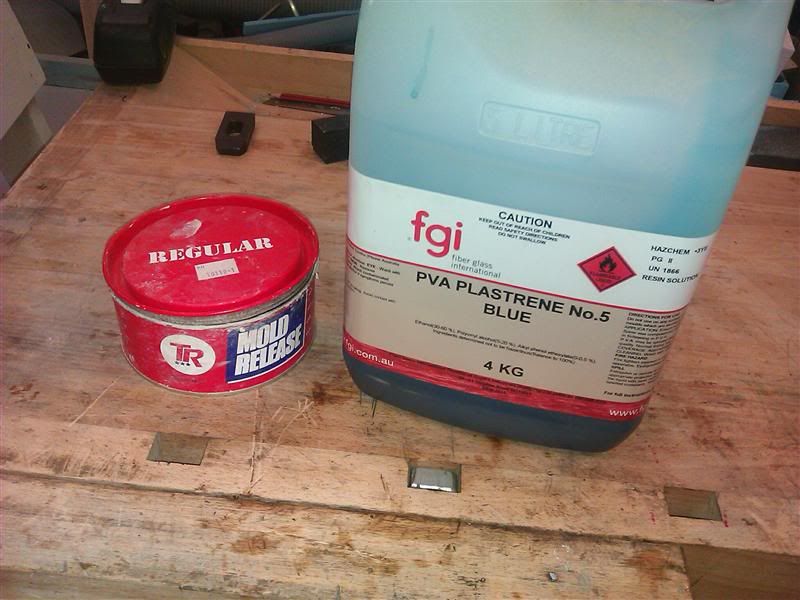 The drill bit used was a new 6mm Sutton. The shank (smooth part) was just long enough to reach between the upper and lower bearing housings to allow perfect alignment between the two. 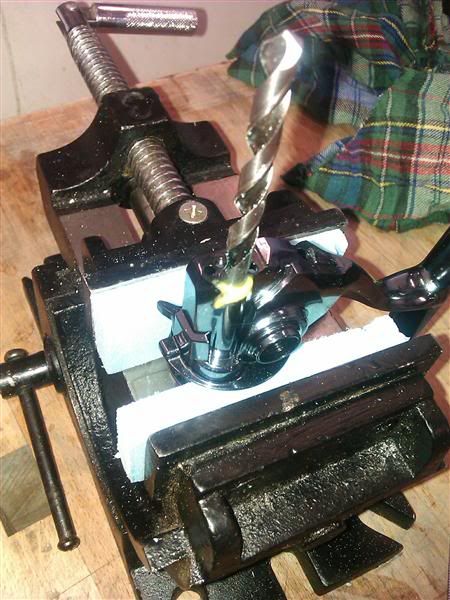 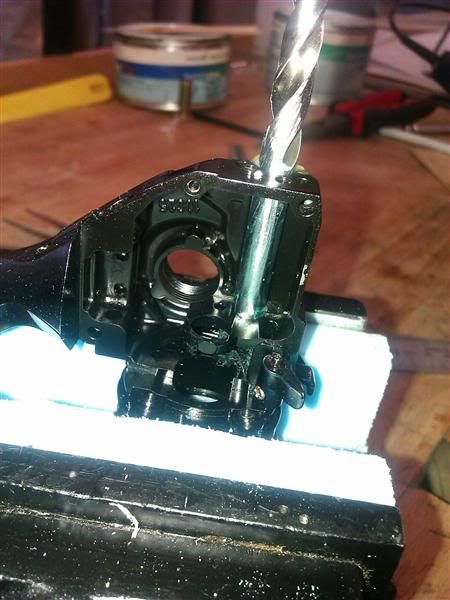 After the epoxy had cured I gently twisted the drill to break it free and slid it out. I then cleaned out the hole to remove any mold release. Sanded back the epoxy flush with the original surface with a flat jewelers file and 400 sand paper then thoroughly cleaned the entire body. Then it was ready for re-assembly. Wrong side, but you get the point.
Last edited by Meh?; 26-07-2011 at 06:06 PM.
|
|
#9
24-07-2011, 04:29 AM
|
|||
|
|||
|
Quote:
The reel felt just as good as the day I got it beforehand I just wanted to address any potential problems before they occurred.
|
|
#13
24-07-2011, 06:47 AM
|
|||
|
|||
|
Why did you have to use the PVA stuff - wasn't the mould release stuff enough to ensure the epoxy didn't stick?
|
|
#15
24-07-2011, 07:25 AM
|
||||
|
||||
|
Is it still as smooth as new with the hot sauce? Lighter handle rotation maybe?
|
 |
|
|


 Linear Mode

